
Your Bag is Empty
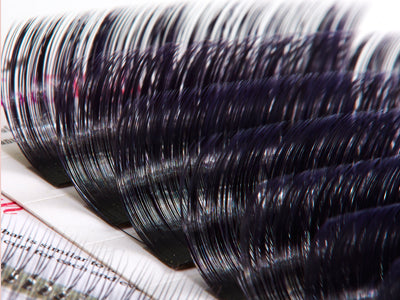
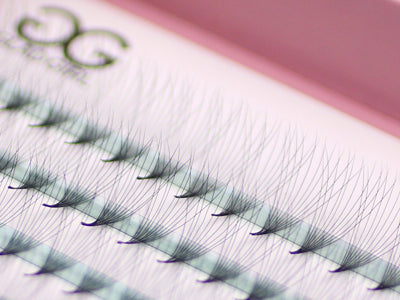
- Eyelashes
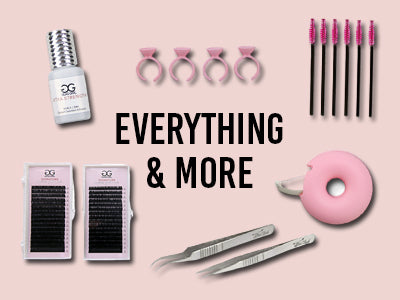
- Glue & Remover
- Application Tools
- After Care
- Eyebrows
- Skin Care
- Training
- More

 12 Comments
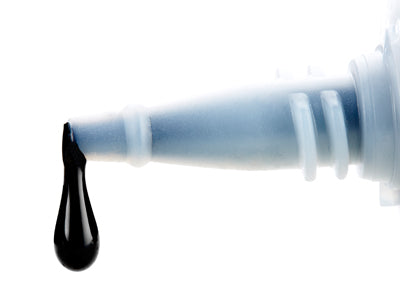
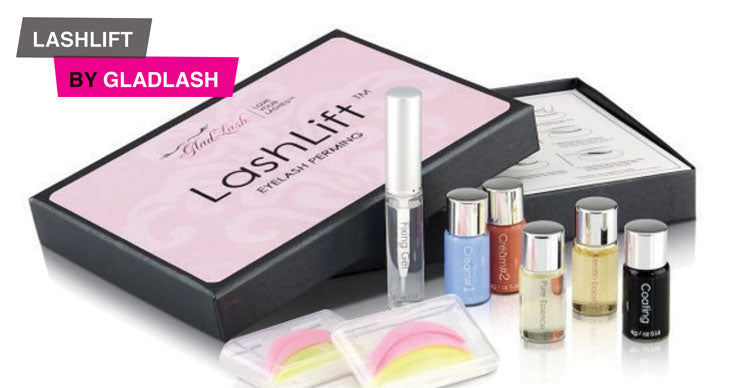
Hey LashLifters! Since my first post on eyelash perming, many of you have reached out and asked for more details about the eyelash perming process. So, let’s explore the finer points of one of my favorite beauty services! Here is my comprehensive how to article, with tips taken from our new LashLift Training Manual. Note: In order to perm your customers’ eyelashes, you will need perming supplies, such as our LashLift™ Eyelash Perming Kit, which comes complete with:
12 Comments
Hey LashLifters! Since my first post on eyelash perming, many of you have reached out and asked for more details about the eyelash perming process. So, let’s explore the finer points of one of my favorite beauty services! Here is my comprehensive how to article, with tips taken from our new LashLift Training Manual. Note: In order to perm your customers’ eyelashes, you will need perming supplies, such as our LashLift™ Eyelash Perming Kit, which comes complete with:
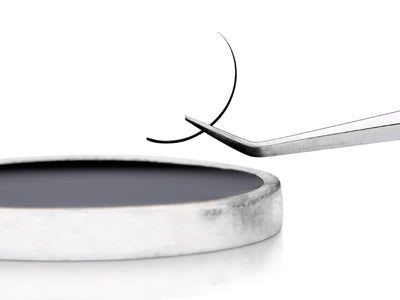
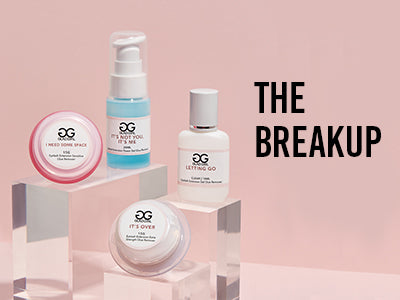
The customer’s safety and comfort always come first. Have her lie down so you can work behind her. Cover her hair with a hairband. 1. Clean the lashes and eye-area thoroughly using a cotton pad or swab and oil-free cleanser like our
. Follow up with a cotton pad or swab dipped in witch hazel. There should be no eye-makeup left over. Dry the lashes with a hand-held fan. 2. Apply gel patches on the lower lashes directly under the eye covering the lower lashes. We don’t want to curl those lower lashes! 3. Choosing the correct silicone size curler can be tricky. Shorter lashes get a smaller curler, medium get a medium curler, and so on. To figure out the right size, place the curler on the upper eyelid as close to the lash line as possible. Use a lifting tool to bend the lashes over the curler. Lashes should reach to the middle of the curler. If not, you’ve got the wrong size. 4. Clean your chosen curler with witch hazel. Apply fixing gel on the flat bottom part of the curler from end to end. Place the curler as close to the lash line as possible without touching the lashes. Press down and hold for a few minutes so the fixing gel can set and dry on the eyelid. Repeat on the other side. 5. Apply fixing gel to the top part of the silicone curler. Use a lifting tool to sweep lashes onto the curler with an upward motion. Hold the lashes into the fixing gel so that they stick to the curler. Make sure the lashes are separated and lined up in the same direction over the silicone curler. Repeat with the other eye.
  6. Use a micro brush to remove Cream #1 (blue) from the jar and put it in your application ring to avoid double dipping. Then apply to lashes evenly with a micro brush or cotton swab from the lash base to half-way up the shaft of the lashes only. Repeat on the other eye. Then, cover lashes with a plastic film so they stay warm and secure while the perming solution takes effect. Suggested time: Short and thin lashes = 10-15 minutes Medium and semi-thick lashes = 15-20 minutes Long and course lashes = 20-25 minutes 7. After the allotted time, take off the plastic film, and then thoroughly remove perming Cream #1 with a wet cotton swab or pad. 8. Apply Cream #2 (orange) in the same manner as Cream #1 in Step 6. Keeping the lashes warm with a thin plastic film and the same time suggestions apply.
  9. Once the timer dings, take off the plastic film, and then thoroughly remove perming Cream #2 with a wet cotton swab or pad. You should see absolutely no orange left! Apply Pure Essence (clear) to eyelashes using a cotton swab. Repeat for both eyes.
  10. Remove the silicone curler by gently rolling a wet cotton swab between the curler and eyelid. Be sure to remove any remaining fixing gel from both eyes. 11. Now it’s time for some color! Dip a clean mascara wand into the black coating and apply a very thin layer evenly to the gorgeously lifted lashes. You only need a little! Dry with a hand-held fan. 12. Last but not least, dip a clean mascara wand into the Keratin Boost (clear). Apply to lashes, being sure to avoid the eye. Let dry completely. And voila! Beautifully curled eyelashes!


Hey Dear Bolkin,
Thank you so much. Really This is a so much helpful and informative article. I’ve learnt something different on lash lift technique from your article.

Hi Kallie,
You’re welcome, thanks for reading!

excellent info!!! THANK YOU! Kallie @Beachlashes and Tanning

Hi Esther,
I have got the lash lift with the same product. I have straight and thick natural lashes. The treatment absolutely didn’t work on me and also destroyed my natural lashes. It seems much shorter, like cutted with scissors. Do you know why this happed to me?
Thank you.
Hi Kallie,
You’re welcome, thanks for reading!
Hey Dear Bolkin,
Thank you so much. Really This is a so much helpful and informative article. I’ve learnt something different on lash lift technique from your article.
excellent info!!! THANK YOU! Kallie @Beachlashes and Tanning
Hey Dear Bolkin,
Thank you so much. Really This is a so much helpful and informative article. I’ve learnt something different on lash lift technique from your article.
Hi Esther,
I have got the lash lift with the same product. I have straight and thick natural lashes. The treatment absolutely didn’t work on me and also destroyed my natural lashes. It seems much shorter, like cutted with scissors. Do you know why this happed to me?
Thank you.
Hi Kallie,
You’re welcome, thanks for reading!
excellent info!!! THANK YOU! Kallie @Beachlashes and Tanning
Comments will be approved before showing up.


Nat
June 05, 2019
Hi Esther,
I have got the lash lift with the same product. I have straight and thick natural lashes. The treatment absolutely didn’t work on me and also destroyed my natural lashes. It seems much shorter, like cutted with scissors. Do you know why this happed to me?
Thank you.