FREE LASH & BROW BOOST W/LASHLIFT KIT | FREE SHIPPING: USA ORDERS $30+, INTERNATIONAL ORDERS $100+ (USD).

0

Your Bag is Empty

Wednesday Wink - How to Create a Wispy/Spiked Hybrid Set with GladGirl Spike Lashes

GladGirl-Model Wearing Spike Lashes

4 min read

Posted by Janelle Greenstreet on January 07, 2022

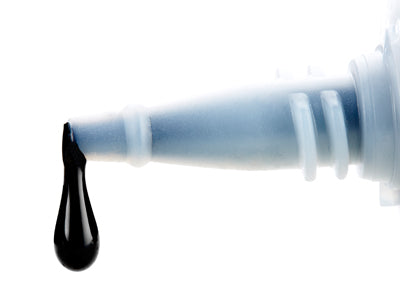
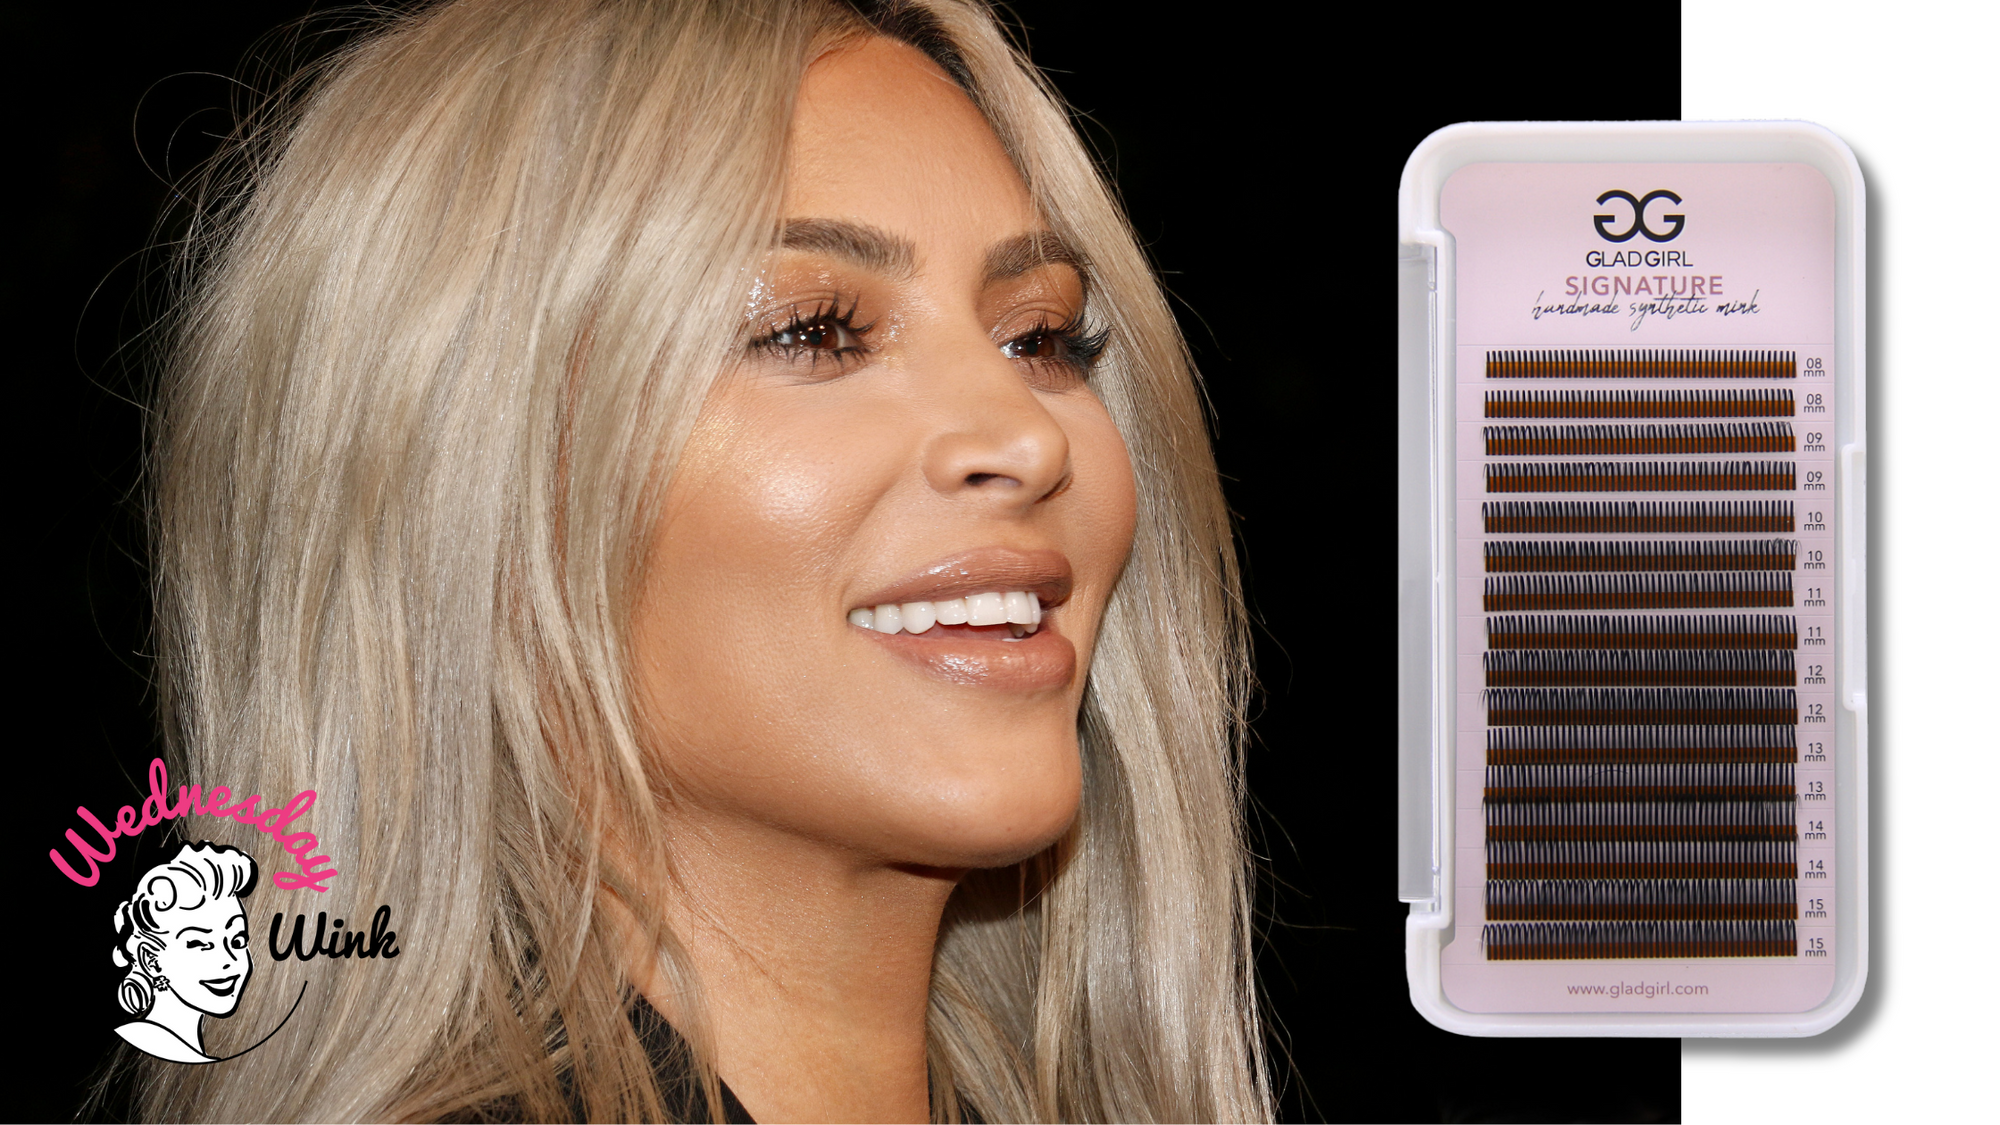
Happy Wednesday Lash Lovers! I recently had the pleasure of creating the Spiked Textured Lash Set that is featuring in our new campaign! I had so much fun playing around with some new lash goodies - GladGirl Signature Spike Lashes - and I wanted to share my process with you, so you can create your own version of my spiked set! And we can talk about my fav products used during the process as well. Let’s jump right into it!

Prep, Prep and More Prep!

In my humble lashing opinion, prep is one of the most important steps in ensuring your lash extension set goes off without a hitch, and this set was no different. I began my full set by washing our beautiful model’s' lashes with GladGirlWash and Wink Eyelash Shampoo + Conditioner to ensure that any leftover makeup and oils were properly removed before the service began. I then grabbed one of my favGladGirl eyelash pre application primersto even further my prep by removing any stubborn oils that weren’t initially removed by the wash. After this step I dried the lashes and was off to the races.

Style is Everything

Okay lash babes we're on to step two! Once I had prepped and primed, I was ready to choose the style of lashes I wanted to give my model, as well as the length and curl that I felt would suit her eye shape and lifestyle the best. I ended up picking GladGirl Spiked Lash Maps to help streamline my process and take the guesswork out of creating my maps. I reached for theSpiked Lash Map Stickers in XXL as this model had beautifully thick and LONG lashes, so I wanted to be sure that the drama was still there when the set was complete. Before I placed the maps, I made sure to choose an eye pad that was ultra comfortable and topped it off with a few pieces of tape. After placing the maps down on top of the pads I was ready to get to work!

Hybrid Spikes - The perfect combination

I decided on a Hybrid Full Set for this mapping as I wanted the lived in textured look to really stand out, and what better way to do that than add in different volumes of fans and classic lashes? With my spiked hybrid sets, I always place the spikes first, as they give me a guideline to where my lengths should change throughout the set as well as gives me free range of the whole eye to place the spikes, as I don’t have to go searching through the set to find a free natural lash. For the spikes I was so excited to try out GladGirl’s newPre-made Spiked Lashes. I LOVE these lashes because they take away the pain of trying to create your own spikes with volume lashes. I had often run into the problem of my spikes opening up if they’re brushed too often, but these premade lashes solve that issue completely! I opted for a tray of D curl 18mm spikes to really give that “wow” factor to the set.
Close up of tray of GladGirl Spike Lash Extensions 
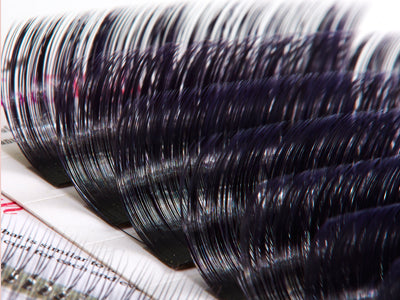
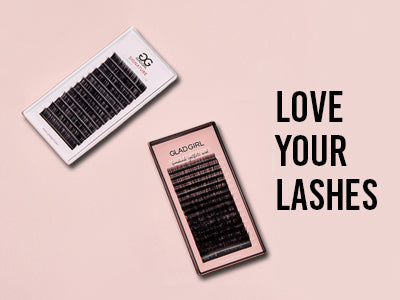
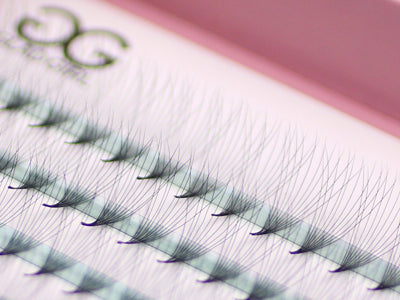
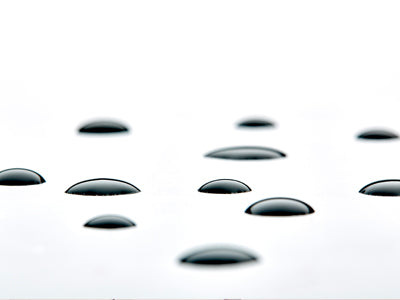
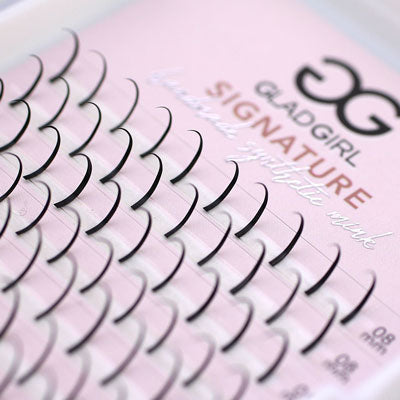
Like the spike? Look at these beautiful spikes, ready on the tray - GladGirl Signature Spike Lashes. I used D Curl, 18mm.
Pro Tip for all you artists - because these spikes are a bit wider to give the textured appearance, be sure to only apply light pressure with your tweezers as too much pressure will flip the lash backwards and make placing it on the natural lash difficult.

Time to Add in the Fluff

Next up is to add in that volume! Here are the GG products I chose to finish off this set...

Lashes

For my handmade volume fans, I reached for GladGirlRapid Mixed Length Lashes in lengths 12-14mm, in C curl, to help create the doll eye effect I was going for. I chose to place different curls for my spikes vs my fans as I wanted the spikes to really stand out from the set, and adding in different length and curls will do just that!

Tweezers

For my tweezers I used none other than myNon-Slip Pink Glitter Tweezers; these tweezers are my go to! They’re just too cute not to use, and the ribbed texture helps me place my fingers exactly where I want them, and they don’t fatigue as easily as the ribs keep my fingers locked into place.

Glue

As for glue, with these fans I grabbed ourMega Pro Hold as this glue has low fume levels, amazing flexibility and a dry time of about 5 seconds, meaning I can easily wrap and place my fans with a little extra wiggle room before the fan is set into place. I placed a volume fan on about every other lash, to create a really beautiful full set with just a touch of texture.

More Lashes!

I finished this set off by placing 0.15mm classic lashes in C curl on all the empty natural lashes to help finish out the look and tie it all together.

Time to Finish it All Up

Now that the set is complete, I wanted to ensure that my hard work was going to last for weeks to come. I always aim to finish my sets off with a sealant to keep those lashes safe from water, dirt and makeup; I tend to use either ourSuperhero Sidekick glue Aid orLash Lock Coating Sealant for most of my volume sets. I applied my sealant with a freshmicro-brush to avoid cross contamination, and finished off the look with a good blow dry to rid the eye of any left over fumes from the adhesive. Model after Spike Lashes Application There you have it lash babes, my step by step guide on how you can get the perfect spiky and textured hybrid lash set in a breeze! I had so much fun creating this look, and am so excited to see it come to life. How do you create your spiked looks? Do you have any special tips and tricks to take that texture to a whole new beauty queen level? Let us know in the comments below! Until next time, XOXO J

Janelle Greenstreet

Janelle Greenstreet

After graduating with her cosmetology license and working in the hair industry, Janelle Greenstreet was introduced to the wonderful world of eyelash extensions and never looked back. Janelle lives in Colorado, with her husband and one year old son, has owned an eyelash extension salon and specializes in Classic and Hybrid lash sets. She loves to mentor up and coming artists, and also prioritizes her own continued education.


Leave a comment

Comments will be approved before showing up.