Your Bag is Empty
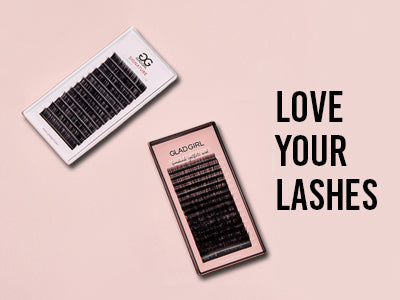
- Eyelashes
- Glue & Remover
- Application Tools
- After Care
- Eyebrows
- Skin Care
- Training
- More

 Have you heard the saying “Eyes are the window to the soul”? I love that saying, it's true and I think we should extend it to include brows too! What do you think?!? A good, full, fluffy brow frames the face and can make your makeup look stand out so much more.
In that spirit, wanting a quick brow boost, I tried GladGirl’s Brow Lamination Kit and absolutely loved it. (I'm a trained professional so I'm skilled to apply this to myself, but note that this product is not intended for DIY use.) It was so much easier to use than other brands I've tried, and took only 20 minutes total to apply to myself, while making the video. Maybe you'll achieve even quicker results for your clients once you are skilled up on the process?
Brow lamination can be offered as a quick and low cost complementary service to eyelash extensions/strip lashes by lash and brow artists and MUA's. Compared to microblading, it's totally pain and discomfort free and is only a fraction of the time and cost! The brow lamination kit comes fully stocked with everything you need to do your clients brows and contains product for around 10-15 treatments.
Have you heard the saying “Eyes are the window to the soul”? I love that saying, it's true and I think we should extend it to include brows too! What do you think?!? A good, full, fluffy brow frames the face and can make your makeup look stand out so much more.
In that spirit, wanting a quick brow boost, I tried GladGirl’s Brow Lamination Kit and absolutely loved it. (I'm a trained professional so I'm skilled to apply this to myself, but note that this product is not intended for DIY use.) It was so much easier to use than other brands I've tried, and took only 20 minutes total to apply to myself, while making the video. Maybe you'll achieve even quicker results for your clients once you are skilled up on the process?
Brow lamination can be offered as a quick and low cost complementary service to eyelash extensions/strip lashes by lash and brow artists and MUA's. Compared to microblading, it's totally pain and discomfort free and is only a fraction of the time and cost! The brow lamination kit comes fully stocked with everything you need to do your clients brows and contains product for around 10-15 treatments.
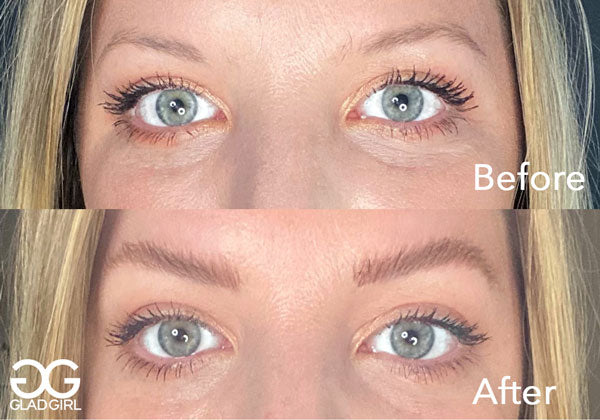 My before and after shots using the GG Brow lamination kit.
Monique uses her 14 years of experience as a hair and makeup artist to elevate natural beauty, highlighting glowing complexions and natural hair. She emphasizes the tone and tactile quality of skin, the movement of hair, and a skillful use of color, whether in natural or glamorous looks. Monique shares her love of product, technique, and skill on Instagram with her followers. She currently lives in Los Angeles with her husband and two fur babies. Connect with her on Instagram @makeupbymazer !
Comments will be approved before showing up.